Airtable: Placement Records
Table of Contents
This article is accessible on Dropbox as a PDF.
WATCH: Zoom training session on Airtable placement records
1. Log in to Airtable
- a) Check your email for an invitation from Airtable. The subject line will contain information about the workspace and interface you are invited to.
- b) Open the email and click on the provided invitation link. This will direct you to the Airtable sign-up or login page.
- c) If you already have an Airtable account, log in with your existing credentials. If not, follow the prompts to create a new account using the email address to which the invitation was sent (your MIT email).
- d) Once logged in, you will be automatically connected to the designated workspace and interface (named after your country program).
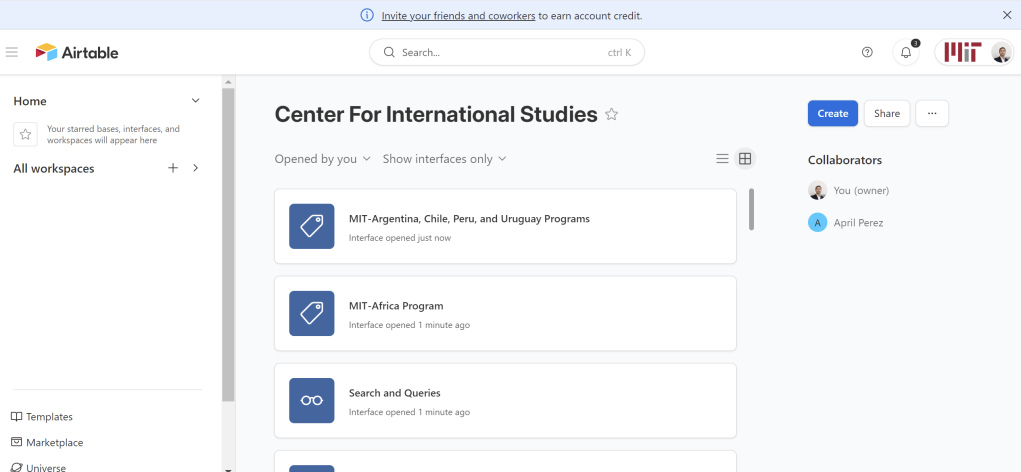
2. What is on your screen?
Upon accessing your CAP desktop, you will notice a menu on the left side of your screen containing “Country Programs” and “Search and Queries” buttons.
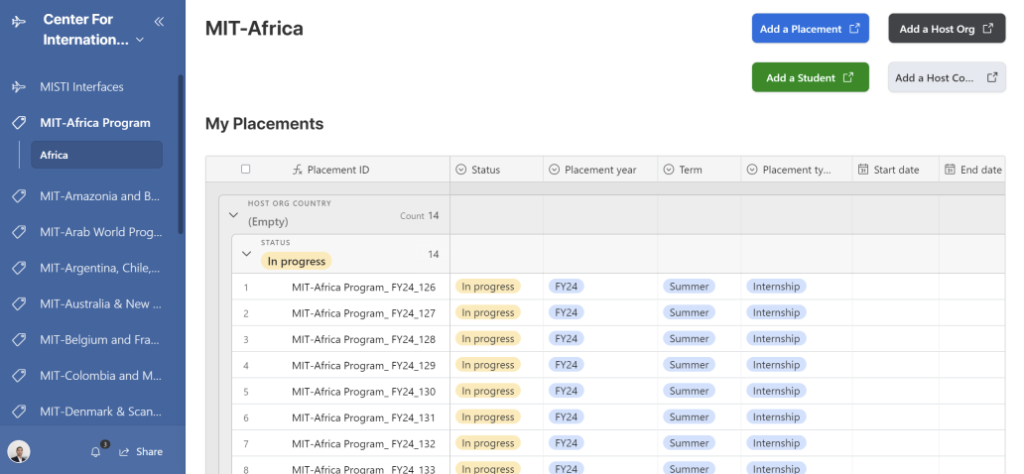
When you click on your Country and Area program, the screen will display the “My Placements” view, resembling a spreadsheet grid (Grid view, in Airtable). This view facilitates the entry and editing of data, as well as the ability to navigate to linked data. In the upper right corner, there are four buttons, each of which opens the respective form for entering placement, student, host organization, or host contact information.
Alternatively, clicking on the “Search and Queries” button will reveal four distinct search and query views: “Students,” “Host Organizations,” “Host Contacts,” and “Placements.”
3. How to add a new placement and complete the required information.
To create a new placement, navigate to the upper-right side of your screen and click on “Add a Placement”. A form will open in a new window.
It’s worth noting that you are not required to fill in all fields to successfully create a placement. The minimum required is to enter the CAP. You can complete all the required information in this form, or you can also proceed to the grid view and click on each cell to enter the required data.
In the grid view, some fields will auto-populate after you enter certain information. For example, “weeks” will automatically fill after you enter the start and end date, or when you fill the “host organization,” the “host type,” “Host Org industry,” and “Host Org Country” fields will auto-populate.
Some information about a student, a host organization, or a host contact might be incomplete. You have the option to double-click on data within the fields labeled “student,” “host contact,” and “host organization“. This action will open a new window, allowing you to input or edit any missing information.

4. Completing Students, Host Organization, and Host contact information
As mentioned above, by double-clicking on the fields “student,” “host contact,” and “host organization,” a form will open at the side of your screen, where you can complete any missing information

5. What are the mandatory fields in the placement record?
All the fields are required, except for the “project description.”
6. Adding a new student
For adding a new student via the form view, go to the upper-right side of your screen and select “Add a Student.” A new window will open, where you can enter all the required information. Don’t forget to press the “Add Student” button at the end of the form.
7. Adding a new Host Organization
To include a new host organization using the form view, locate and press “Add a Host Org” at the upper right side of your screen. A new window will open, where you can enter all the required information. Don’t forget to press the “Add Host Org” button at the end of the form.
8. Adding a Host Contact
Similarly, for adding a Host Contact, click on “Add a Host Contact” situated at the upper right side of your screen. A new window will open, where you can enter all the required information. Don’t forget to press the “Add Host Contact” button at the end of the form.
Search and Queries
If you click on Search and Queries, you will see four pages to search for Students, Placements, Host Organizations, and Host Contacts.
Each of the search views allows you to filter and sort the results according to your needs or preferences. Using logical conditions, you can filter your queries to obtain the data that you need. For example, if you want to find just senior students, on the “Student” page, you can add the condition “where Academic Status is Senior”. If you need to find accelerators and entrepreneurship organizations in Spain, on the “host organization page,” you can add the condition “where country is Spain and Industry has any of Accelerator + entrepreneurship.”
